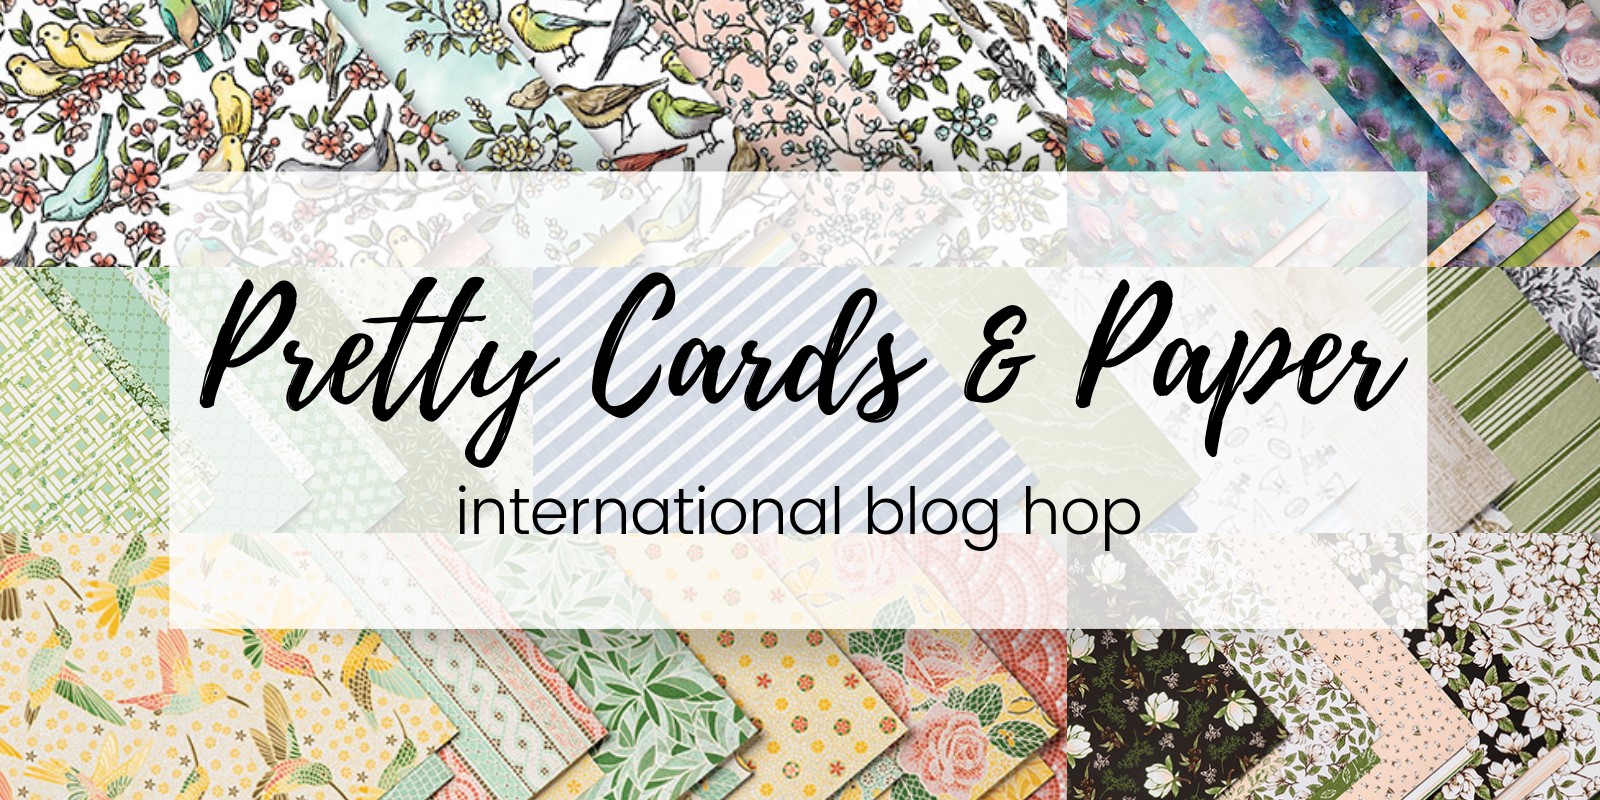
Welcome to this month’s Pretty Cards & Paper International Blog Hop.
Our Design it with DSP name and graphic have had a bit of a rebrand – but our focus is still very much on designing projects with beautiful Stampin’ Up! Designer Series Paper – as well as the gorgeous cards available to purchase and use. Our Design Team is made up of Stampin’ Up! Demonstrators from throughout the world – one from each of the countries/markets that Stampin’ Up! has a presence in.
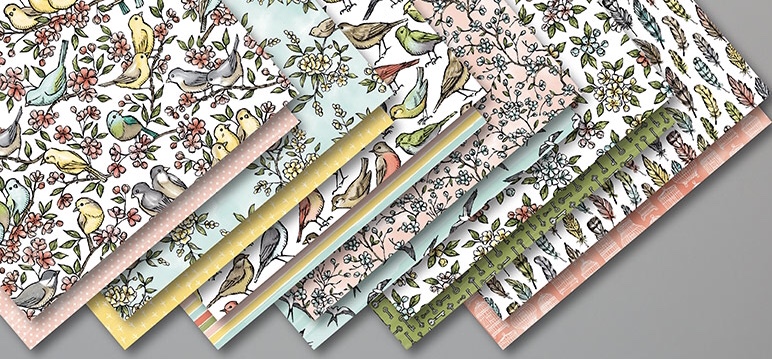
Each month we will be featuring a different card or designer series paper and in June we are all using the Bird Ballard Designer Series Paper in our projects.
Here’s all the important info:
BIRD BALLARD 12″ X 12″ (30.5 X 30.5 cm) Designer Series Paper 149592
Images in the Bird Ballad Designer Series Paper were hand-coloured using Stampin’ Blends for a soft, blended look.
* 12 sheets: 2 each of 6 double-sided designs
* 12″ x 12″ (30.5 x 30.5 cm)
* Acid free
* Lignin free
Coordinating colours: Basic Black, Basic Gray, Bermuda Bay, Calypso Coral, Crumb Cake, Daffodil Delight, Old Olive, Petal Pink, Pool Party, Smoky Slate, Soft Suede, Whisper White
In my Technique classes last week I showcased a fancy fold – the Easel Card. I had samples of a standard easel card and a twisted easel card and attendees made a diamond easel card. My standard easel card featured the Bird Ballard DSP and in the project, I’m sharing today.
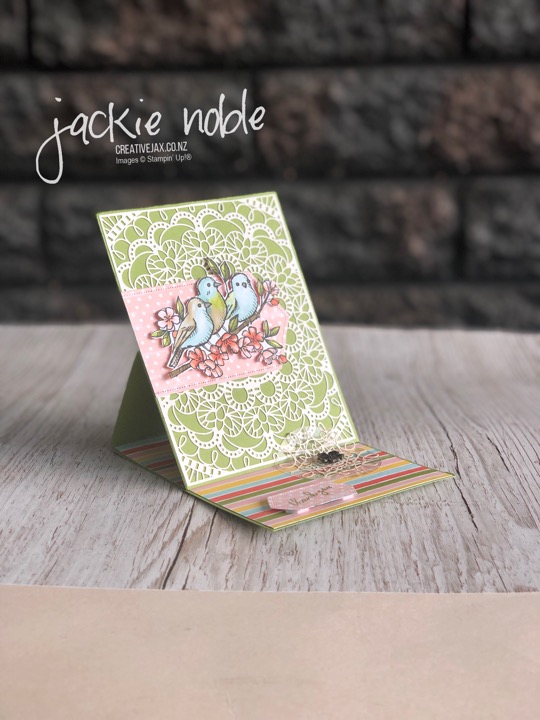
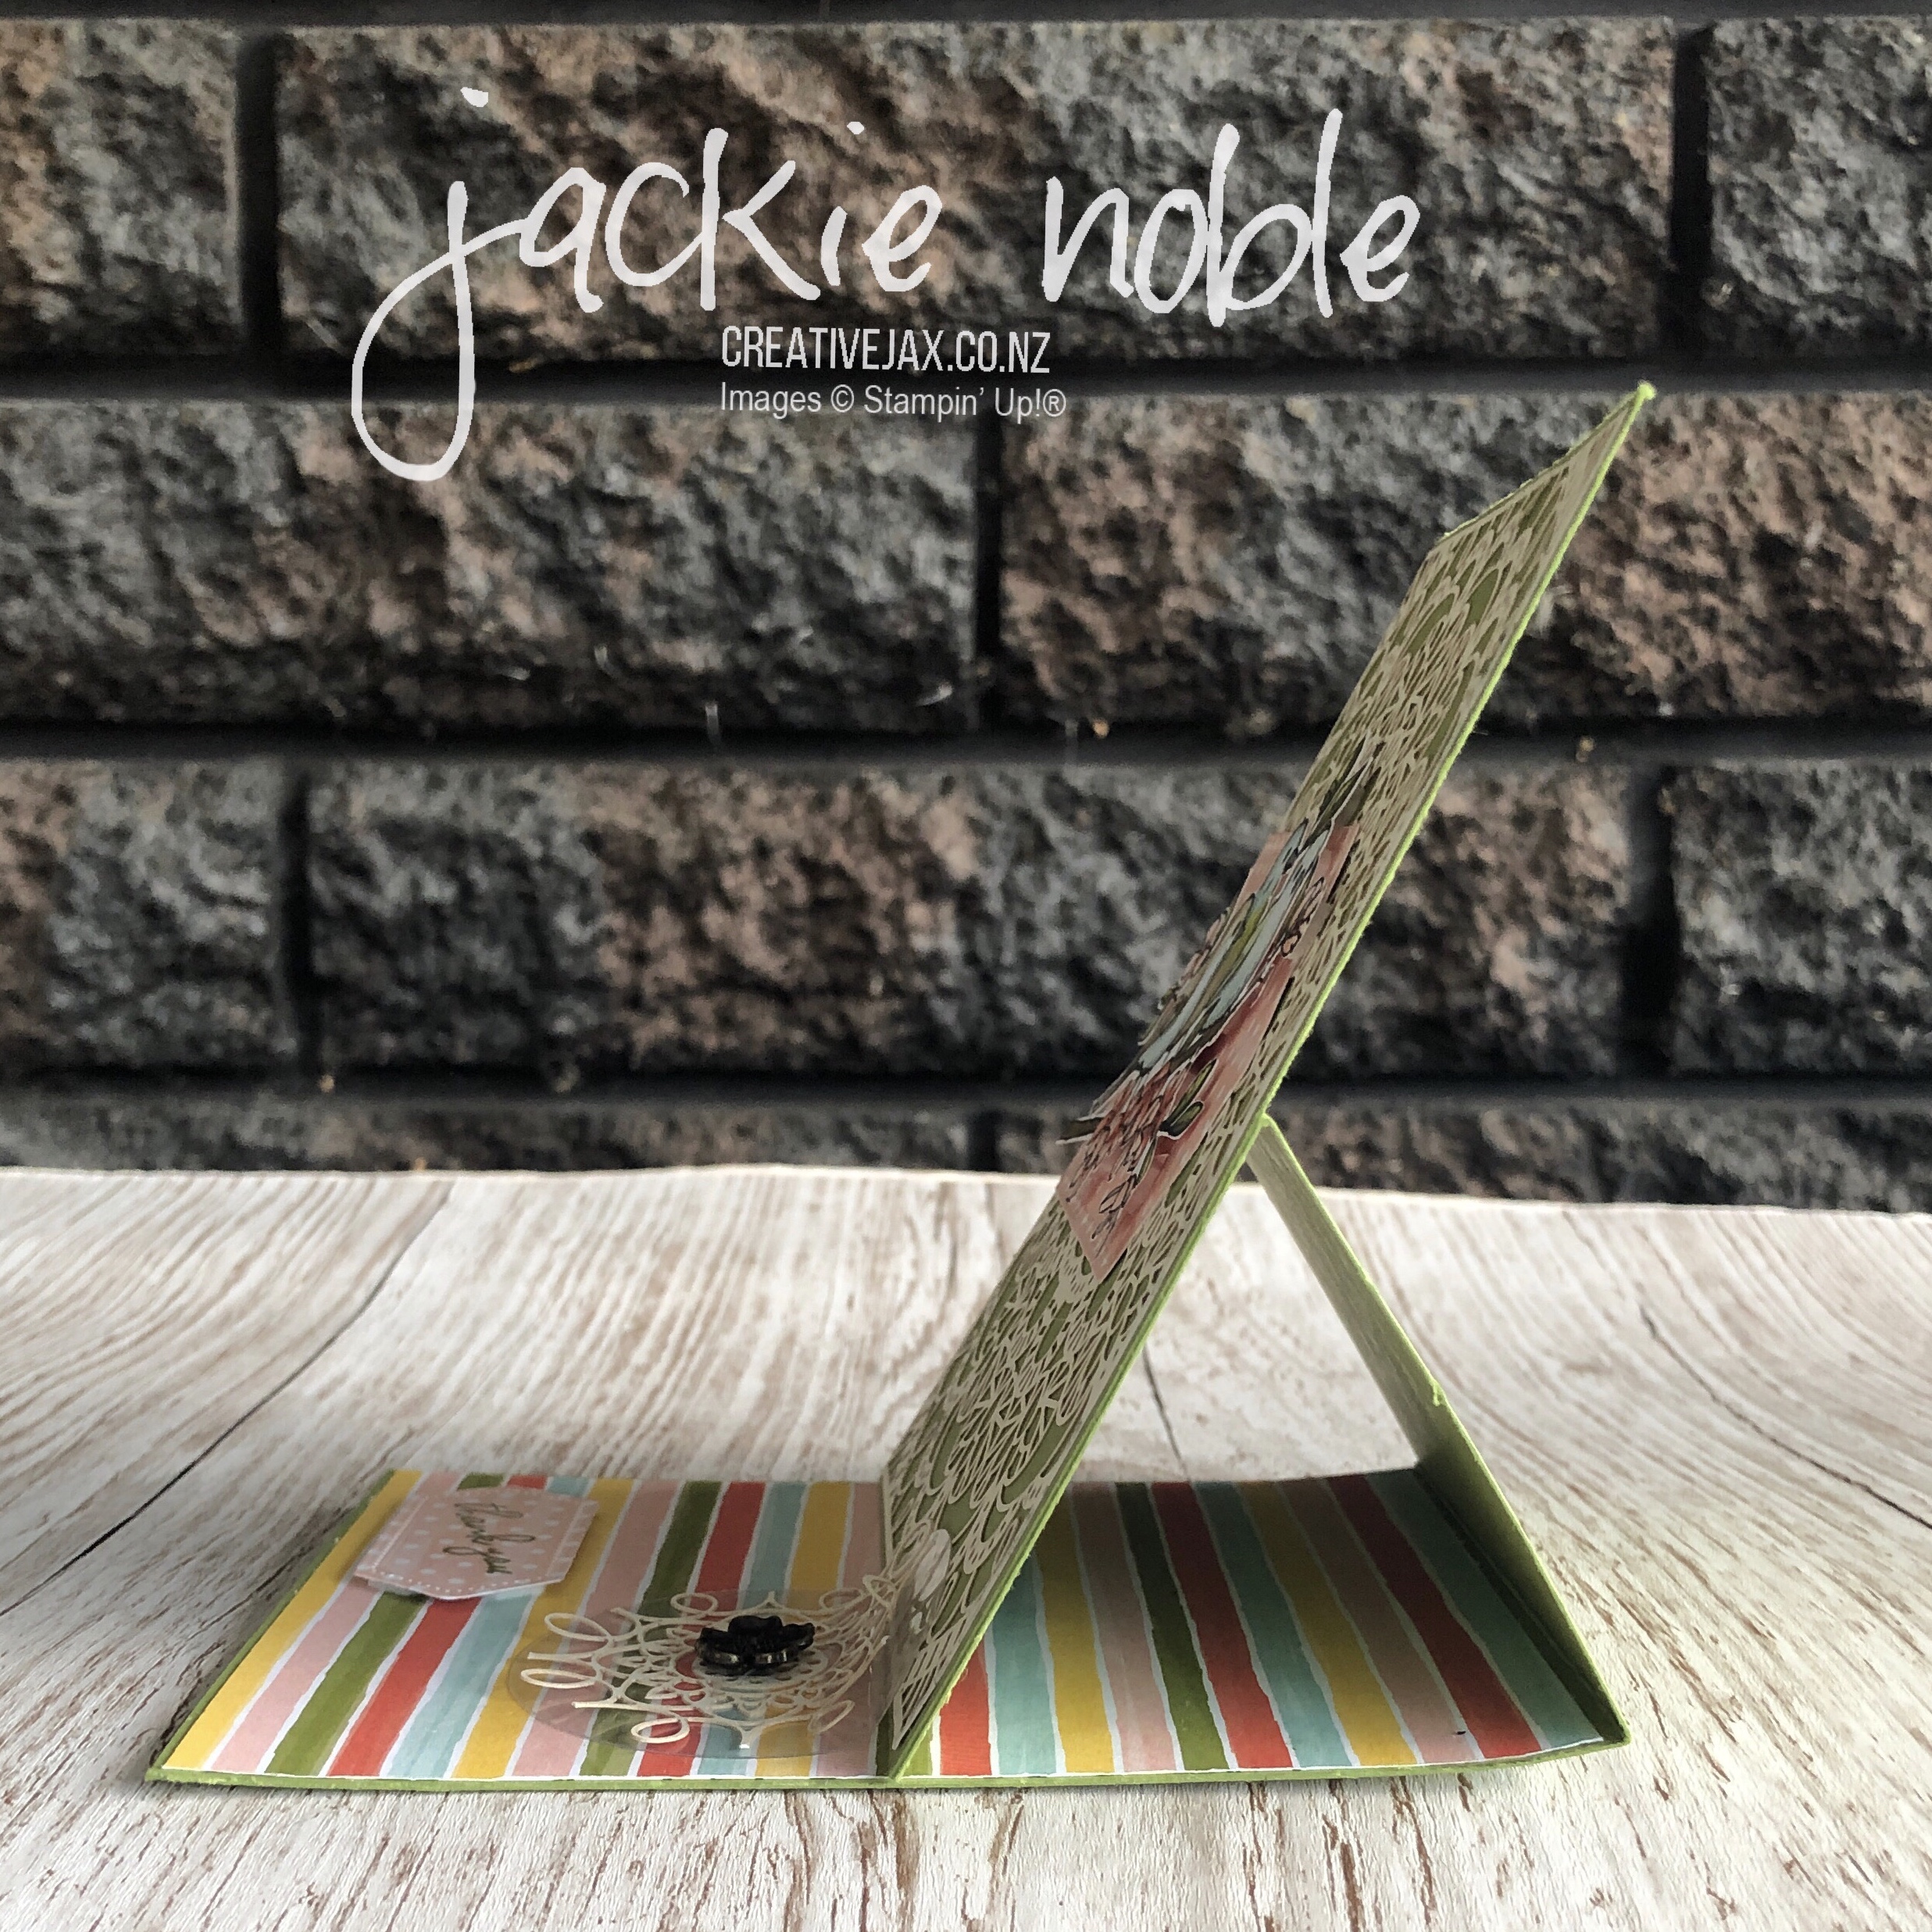
There are three different patterns from the Bird Ballad DSP used in the card, along with the front of one of the Bird Ballard note cards. I love how all these products work together – as well as looking good as stand-alone items.
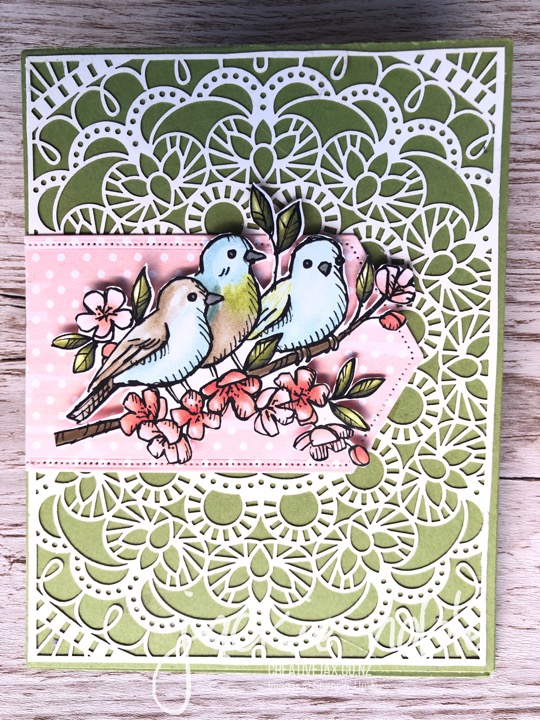
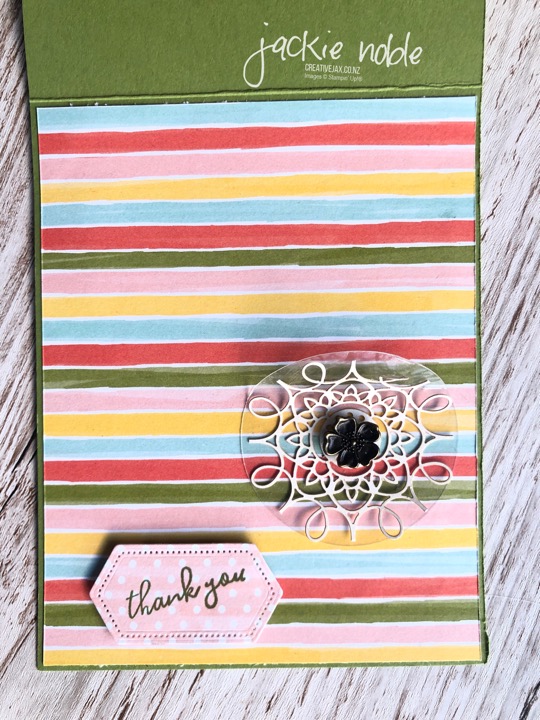
The birds are not stamped – they are fussy cut from one of the patterns and then popped onto a hexagon (cut with the Nested Label Dies) in a second pattern from the DSP pack. The Sentiment is stamped onto a smaller die cut from the same pattern.
And the inside/base of the card has the bright and cherry stripes – a third different pattern from the DSP.
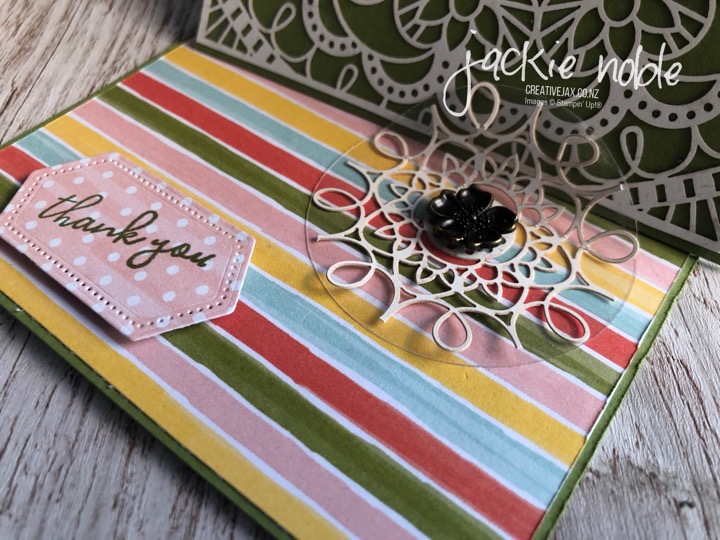
One of the things any easel card needs is some sort of “stopper” to keep the easel open. The front of the card must be supported – or have something that will stop it sliding shut.
I cut out the centre of the laser cut card front (it was behind the label so thought it would not be missed!) and wanted to use that. It was to lacey and not strong enough to use on its own, so I cut a circle of window sheet a little large and stuck the paper lace onto that. By bending it a little it makes a great stopper for this easel card. I also popped one of the gorgeous Brid Ballard Trinkets on top. This would have been enough to be the stopper itself, but in this case, it is just for decoration.
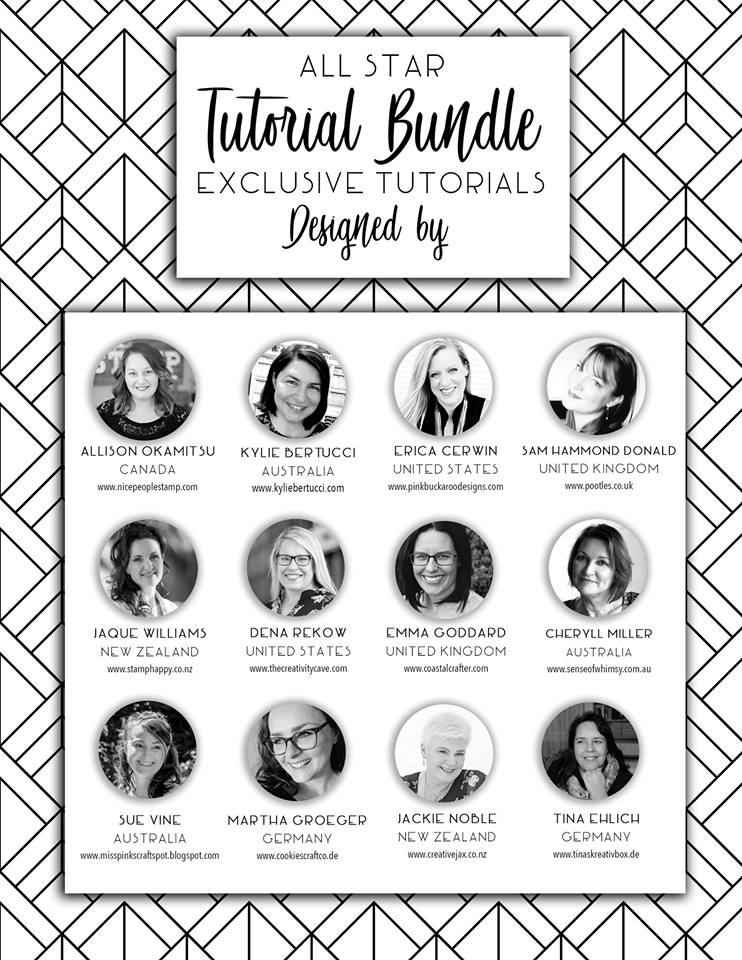
I’m delighted to be in the 2019 All Star Tutorial Bundle Design Team. We each create an exclusive project for a monthly Bundle of pdf tutorials as well as creating another project we share in our monthly Blog Hop early each month.
How to get the Tutorial Bundle
SHOP WITH ME
BUY THE TUTORIAL BUNDLE
Purchase the May Tutorial Bundle for $NZ21
BE a thINK CREATIVE TEAM MEMBER
REMEMBER
- If you live in New Zealand and would like a copy of the new catalogue, please contact me.
- If you live in New Zealand and would like a demonstrator to order through – I’d love to have you join my group of crafty customers. Let’s journey together! – Shop Now or contact me.
- If you live in New Zealand and would like to know more about becoming a demonstrator – Check out the info HERE. I’d love to have you join my thINK Creative Team!
As always – if you wish to know anything more about info in this post, or to get a catalogue, or to join my thINK Creative Team, or to buy any of the items mentioned in the post – please contact me.
Or you can shop 24/7 at my online Stampin’ Up! shop – the table below shows you what products I used. Just click on each to see more information.
Please do use the hostess code to support creativeJax if you are ordering online!
Entering the Hostess code combines the value of online orders – which assists me to offer events and thank you’s for my customers and support charities such as Ronald MacDonald House and local events where I donate product and/or classes.
The current Hostess Code can be found at the top right of my webpage.
If your order is over $300, please
do not use this code
as You become the hostess and get the Rewards!
If you would like to find out about joining my Stampin’ Up! Team (thINK Creative) –
Please do get in touch – I would love to chat with you about that.

