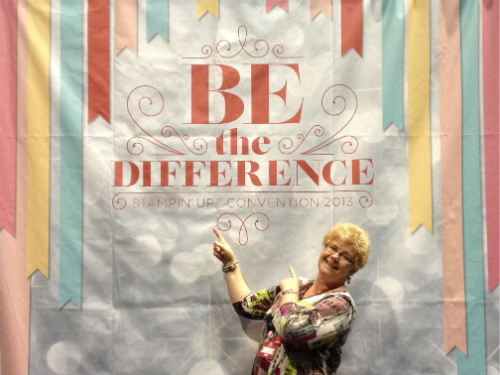
I can’t believe that the South Pacific Stampin’ Up! Convention in Brisbane was almost two months ago. I have been rather swamped since returning and have neglected this page! I’ll be working hard to make sure that doesn’t happen again and decided to share a little about my time in Brisbane. Convention was such an amazing few days – wonderful people and so inspiring!
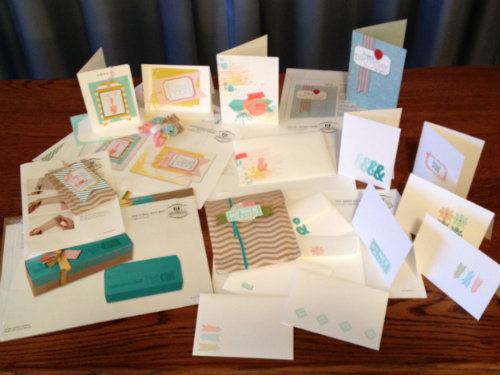
We learnt really useful things in the business presentations and saw some amazing techniques demonstrated. Got to meet Stampin’ Up! employees from Australia and from the Home Office in Utah, USA. I had the pleasure of meeting co-founder Shelli Gardiner as well as hearing her speak and watching her craft – very cool! We got to use several new products from the 2013-2014 catalogue – very exciting! The Make-n-Takes shown below were lots of fun to participate in.
Swaps are one of the great things at Convention, so as this was my first Stampin’ Up! convention I decided to participate. I was really keen to to an MDS project as a swap and decided to combine two techniques that are very popular at the moment – Subway Art and Blackboard Technique.
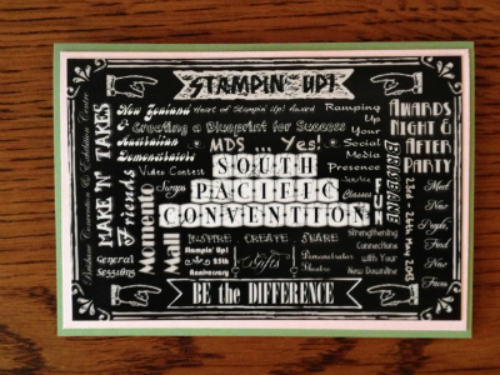
Brisbane 2013 Stampin’ Up! Convention Swap. Made in MDS using Chalkboard and Subway Art techniques
Subway Art uses text (mostly) to fill up the entire area of interest. Click HERE to see some examples of Stampin’ Up! subway art projects on Pinterest. Rather than using lots of different colours I did my subway art using the “Chalkboard” technique. Just like the name suggests, this technique looks as if it is done on a chalkboard. Click HERE to see some examples of Stampin’ Up! chalkboard projects on Pinterest. Using lots of text boxes I inserted all sorts of words relating to Convention 2013 onto my project page in MDS. These were the names of classes and events, locations, descriptions, activities etc. One of the things I love about MDS is that all the fonts installed on your computer are available to use from within the program itself – so cool! MDS is a very easy and intuitive program to use. Check out my MDS page for further information.
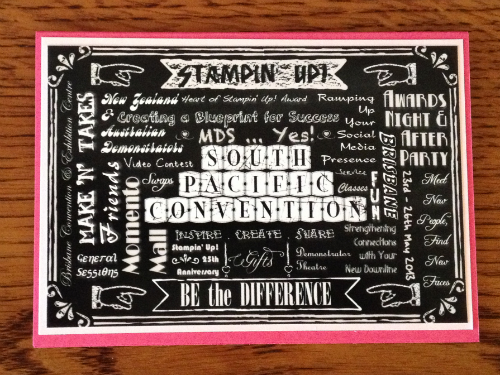
Brisbane 2013 Stampin’ Up! Convention Swap. Made in MDS using Chalkboard and Subway Art techniques
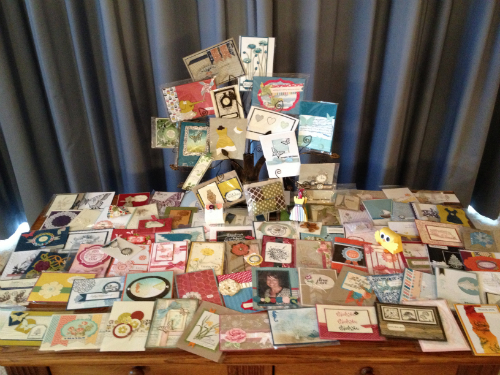
Once I had my card front just as I wanted, I saved and exported the project as a jpeg – one of the file formats that you can export from MDS as. I then got the picture printed at my local photo printing outlet. If I was just doing few projects, then I would have printed them at home – but as I was printing 125 with mostly black ink, I decided to use a professional printing service. At 15c/print these were very economical. It was then a matter of constructing the cards themselves. I chose colours that provided contrast to the black and white of my image and that were carrying through to the new catalogue. For the mat I selected 2 colours, Blushing Bride or Pink Pirouette, and the card bases were either Wild Wasabi or Mambo Melon. It was such fun (and quite a frenzy) swapping with other demonstrators. Thanks to all those who participated – I have an amazing collection of swaps including cards, 3D projects, fabric items, key chains, labels. Some of which are in the photo below.
People are so creative! The photo below shows the magnificent convention gifts from Brisbane. I was awestruck by the large number of “All Attendee Prize Patrols” in this the 25 year anniversary of Stampin’ Up!. Now that the new catalogue has been released I can share this photo – though there are still a couple of blurred areas for products in upcoming catalogues. These items are of great assistance to me as a demonstrator. 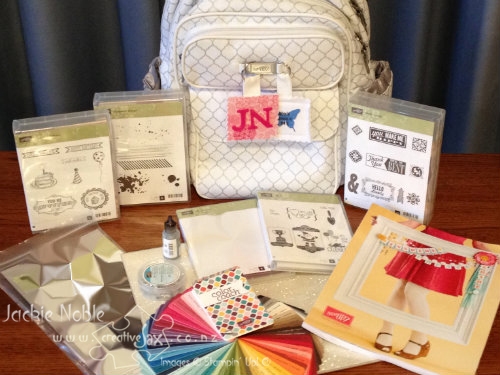
I am sure Convention 2014 in Melbourne will be every bit as much fun and just as inspiring! Maybe you will be there too! 
Until next time Jackie
My Convention Swap Project Supply List:
Card/Paper: Mambo Melon (119980) Blushing Bride (131287) Wild Wasabi (11850) Pink Pirouette (116203)
Techniques: Chalkboard and Subway Art
MDS ( MDS Supplies – Background: Card Stock/Basic Black Stamps: Designer Kits/Hello World; Letter It; Vintage Overlays DSP: Hello World

