Animal Expedition Gift Bag – with no animals!

Welcome to this month’s Design it with Designer Series Paper Blog Hop.
Our Design Team is made up of 11 Stampin’ Up! Demonstrators from throughout the world – one from each of the countries/markets that Stampin’ Up! has a presence in. We have come together to share projects focusing on the beautiful Designer Series Paper in the Stampin’ Up! Catalogue.
Each month we will be featuring a different paper and our Designer Series Paper (DSP) for July is Animal Expedition. The paper features animals on one side and geometric patterns on the reverse side – making it really versatile.
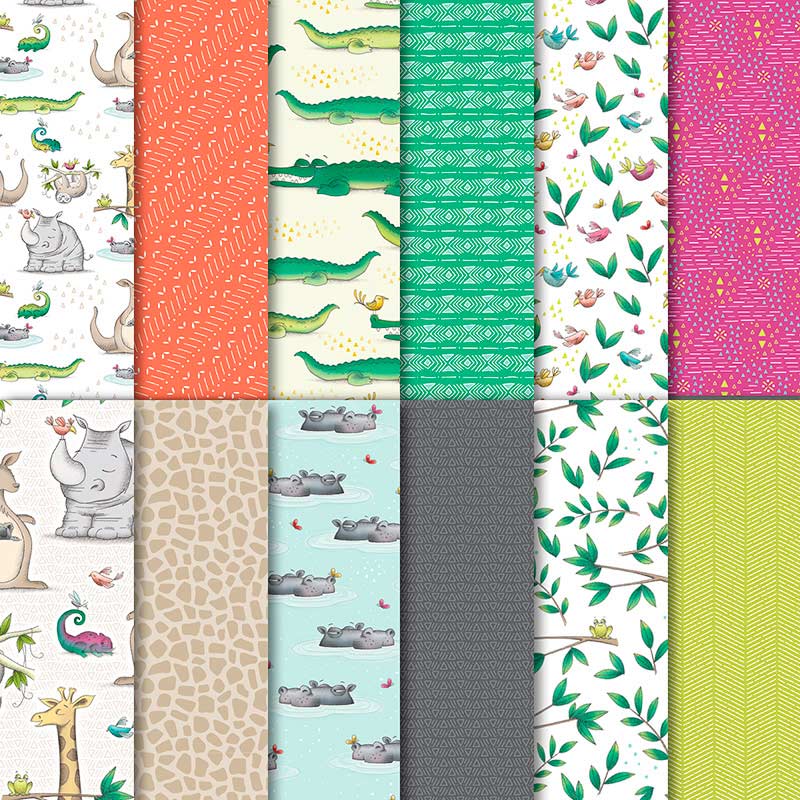
This DSP one of the papers that are part of a special “Buy 3 – Get 1 Free” promotion running throughout July. You can read about that towards the bottom of the post – but first let’s take a look at my project,
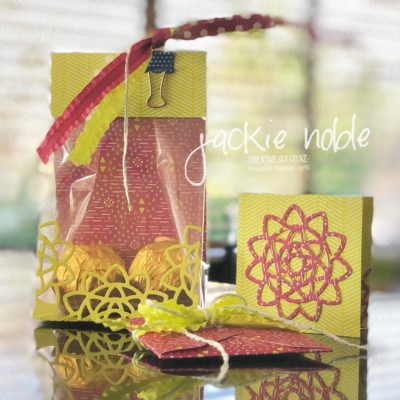
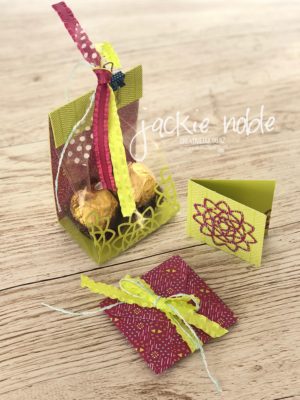
I’ve created a gift bag with a matching gift card and envelope.
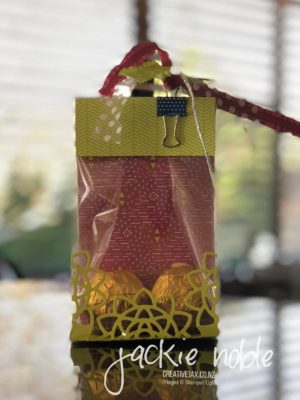
Here’s a closer view of the gift bag.
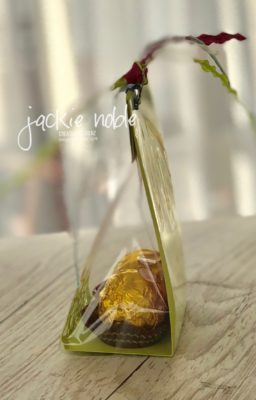
And a side view too.
The bag is a Stampin’ Up! Gusseted Cellophane Bag – 7.6cm x 15.2cm and food safe! I’ve added a piece of Lemon Lime Twist Cardstock to give the bag a more rigid shape (see below for the scoring dimensions). There’s DSP attached to the largest section of the cardstock which sits at the back of the bag. There’s also a coordinating strip of DSP adhered to the fold-over flap on the outside of the bag.
The bag is held shut with a Mini Binder Clip (Blueberry Bushel) which has some ribbon attached for decoration. I picked colours that are in the DSP – Lemon Lime Twist and Blueberry Bushel Ruffle Ribbon, Whisper White Polka Dot Tulle Ribbon and Silver & Pool Party Baker’s Twine. You can see the paper, mini binder clip, and ribbon in this close-up.
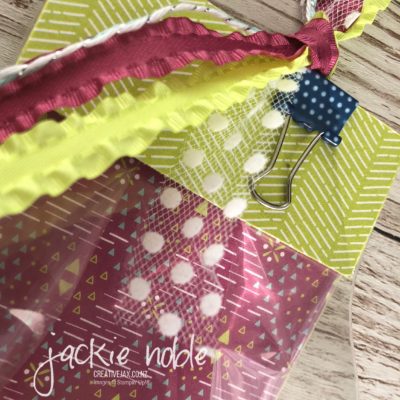 A gift bag just isn’t complete without a gift card so I made a matching 3″x3″ card and envelope.
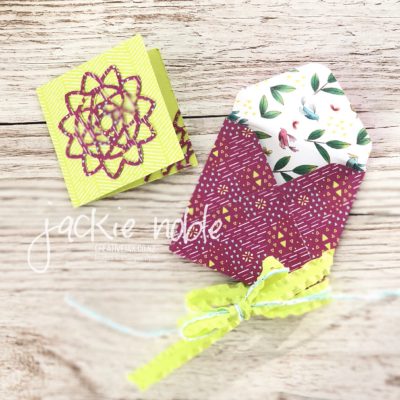
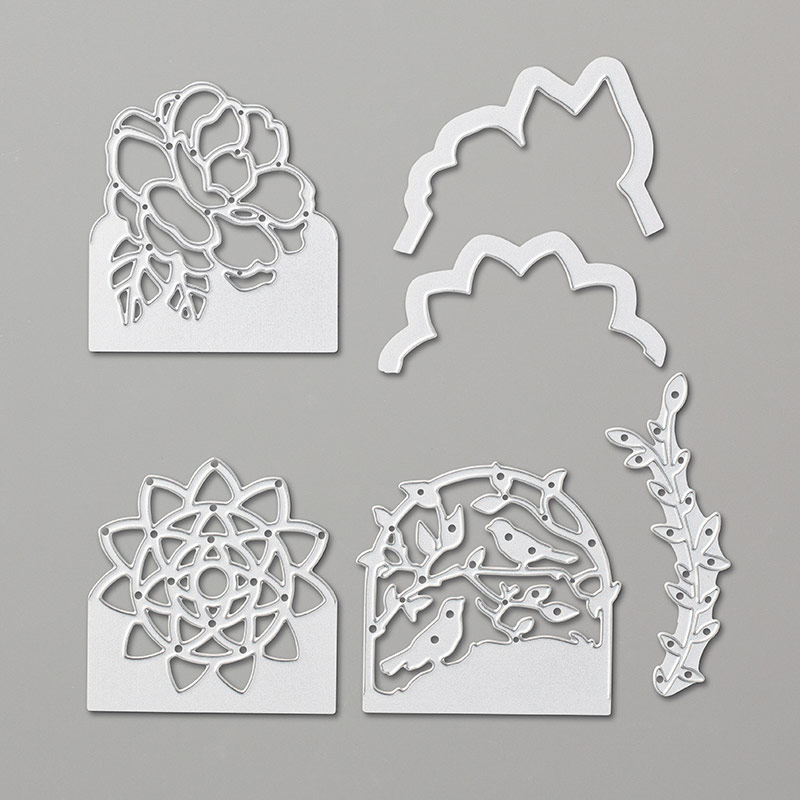
These were also used on the cardstock that provides the backbone of the gift bag. I cut the shape out three times on one end to make the delicate pattern at the front of the gift bag.
The envelope was made using the Envelope Punch Board. I started with a 4 1/2″ square of DSP and did my first punch at 2 1/4″. I love how the Envelope Punch Board means you can make coordinating envelopes of any size with our gorgeous DSP! I’ve used a piece of Lemon Lime Twist Ruffle Ribbon and a piece of Siver and Pool Party Baker’s Twine to secure the envelope shut.
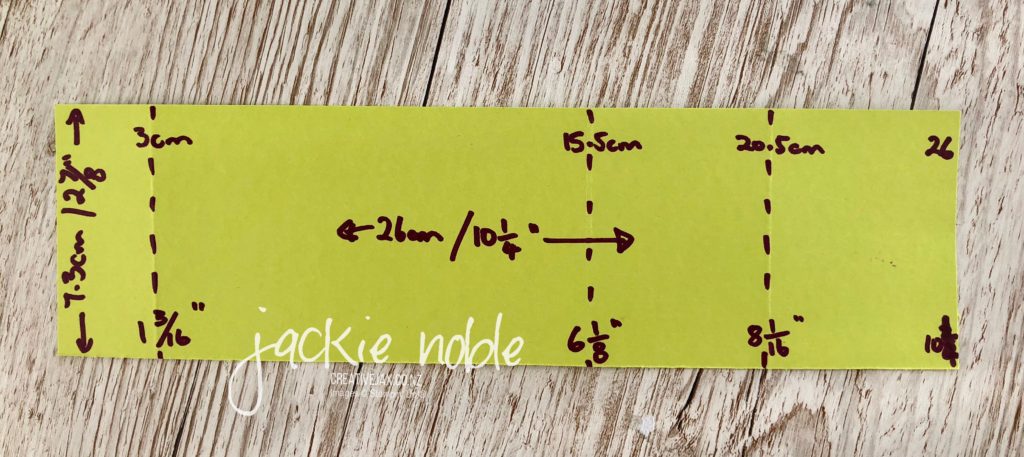
Here is a template of the measurements I used for scoring the cardstock that goes inside the bag.
I started with a 7.5cm x 26cm piece and scored at 3cm, 15.5cm and 20.5cm. This is equivalent to a 2 7/8″ x 10 1/4″ piece, scored at 1 3/16″, 6 1/8″ and 8 1/16″.
Now it’s time to see what the rest of the Design Team has made using the Garden Impressions DSP. Isn’t that a global collection of demos! Make sure to visit everyone to see all the fun things you can do with this paper.
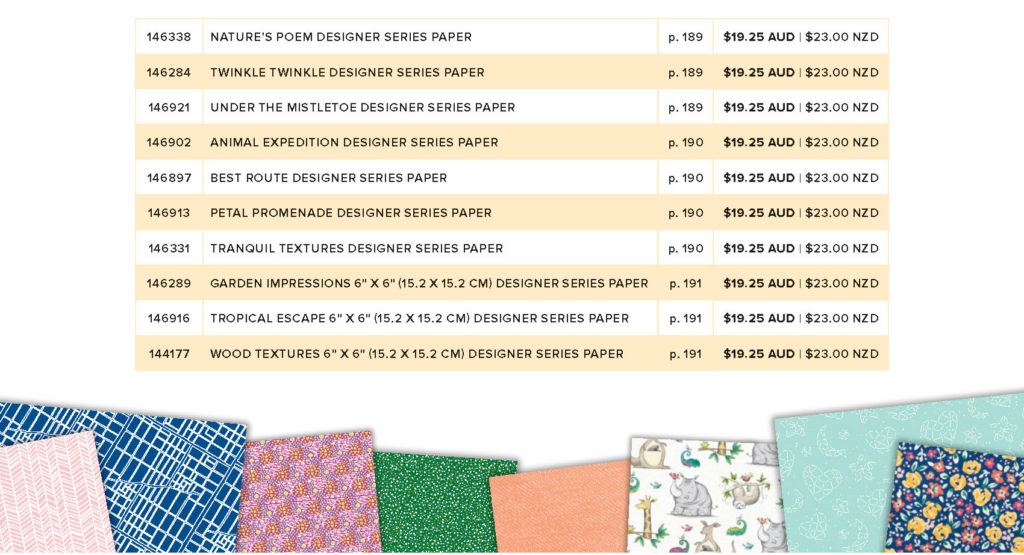
And here’s all the details about the Designer Series Paper Promotion
Yes – that’s right! Stampin’ Up! is running this popular promotion for the month of July.
Just click on the image and you’ll be in my Online Store where you can see each of the papers in more details and you can place an order there.
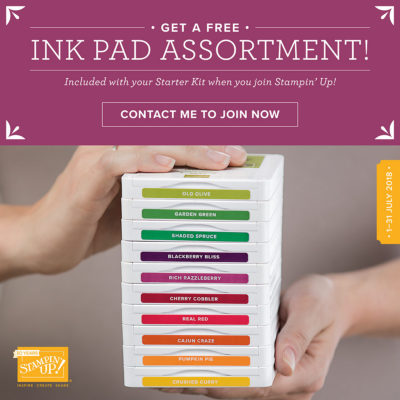
The other fabulous promotion running in July is the amazing opportunity to get 10 Ink Pads for FREE! and that’s in addition to the other FREE product you get when you purchase a Stampin’ Up! Starter Kit for $189 (New Zealand)
Click on the picture to find out more! Or if you are ready to purchase a Starter Kit and join my thINK Creative Team – just click the Join Now button below!
REMEMBER
- If you live in New Zealand and would like a copy of the new catalogue, please contact me.
- If you live in New Zealand and would like a demonstrator to order through – I’d love to have you join my group of crafty customers. Let’s journey together! – Shop Now or contact me.
Anyone who purchases of $NZ50 of Stampin’ Up! product from me in a month will receive the Tutorial Bundle for Free. This Bundle contains 13 pdf tutorials from demonstrators throughout the world and will be emailed directly to you.
- If you live in New Zealand and would like to know more about becoming a demonstrator – Check out the info HERE. I’d love to have you join my thINK Creative Team!
Until next time
As always – if you wish to know anything more about info in this post, or to get a catalogue, or to join my thINK Creative Team, or to buy any of the items mentioned in the post – please contact me.
Or you can shop 24/7 at my online Stampin’ Up! shop
Please do use the hostess code to support creativeJax if you are ordering online!
Entering the Hostess code combines the value of online orders – which assists me to offer events and thank you’s for my customers and support charities such as Ronald MacDonald House and local events where I donate product and/or classes.
The current Hostess Code can be found at the top right of my webpage.
If your order is over $300, please do not use this code as You become the hostess and get the Rewards!
If you would like to find out about joining my Stampin’ Up! Team (thINK Creative) – Please do get in touch – I would love to chat to you about that.
You can receive my Blog Posts directly by email or join my monthly Newsletter group – you can subscribe using the buttons at the right of my page.
Product List







2 comments
How adorable! I love the matching envelope.ll
As much as I love the animals, I love that you did something without them!