Welcome to the Monthly Blog Hop featuring members of the Scrapbooking Global – Stampin’ Up! Facebook Group. If you are not part of the Group – check it out! It’s a fabulous and friendly group for sharing Memory Keeping ideas – with a focus on Stampin’ Up!.
This month our Blog Hop has a Theme Challenge – Memories and More – with an optional theme of School Photos. I’ve stuck with the Memories & More Theme.
I can’t wait to see what the other hoppers have created! There is a “Next button” and a list of all the participants towards the bottom of the post.
Every Month I hold a Memory Keeping Workshop in the Wellington Region and also in Hawkes Bay. These day-long workshops include a Demonstration by me of a double spread that is one pocket page and a coordinating 12×12 layout page. As part of their workshop Fee, attendees get to complete the double page spread as a Make’n’Take. Then, for the rest of the day everyone works on their own projects.
I love the Memories and More Card Packs from Stampin’ Up! and they feature regularly in my Memory Keeping Projects. This coming weekend my Hawkes Bay Group will be using the Best Route Memories and More Card Pack as well as items from the coordinating Best Route Suite of products.
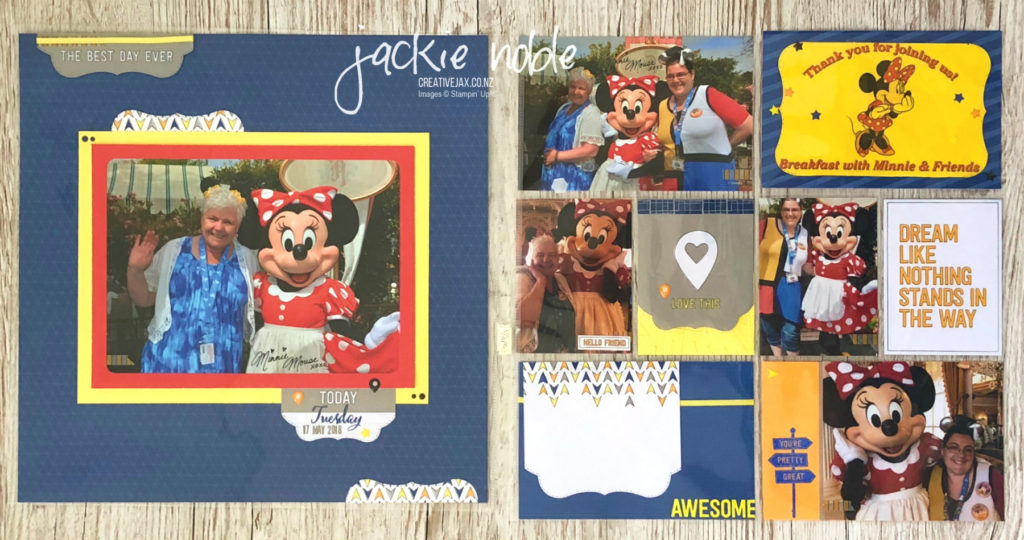
Here’s my double layout sample.
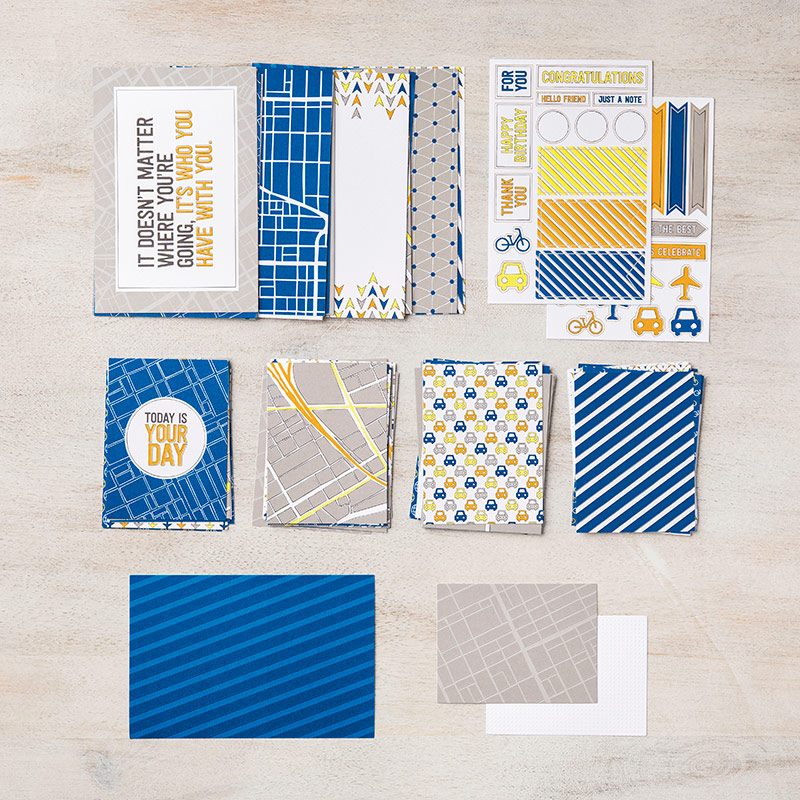
If you’re not familiar with the Memories and More Card packs – you really need to check them out. Here’s a photo of the Best Route Card Pack.
The bold colours in the Best Route Memories & More Card Pack and the Suite (Blueberry Bushel, Mango Melody, Pineapple Punch, Basic Black and Gray Granite) are a really versatile combination. Great for memory keeping any travels obviously – but also has lots of cards with sayings that are suitable for a range of pages – not just travel. They can also be used in your card making too!
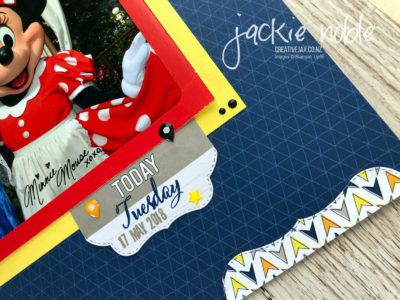
In May I got to go to Disneyland with my daughter to celebrate her completing and handing in her Masters Thesis. We have LOTS of photos! The photos from our breakfast with Minnie and Friends had some similar colours as the suite – as well the bright red of Minnie Mouse. I decided they worked well together.
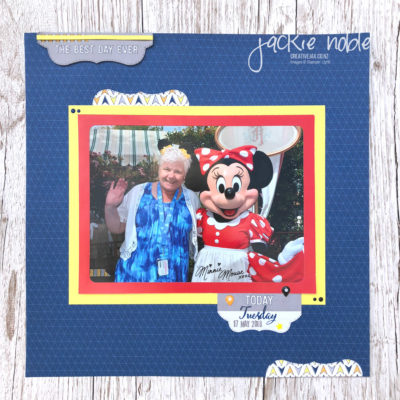
The 12×12 layout has one of the papers from the Best Route Designer Series Paper as its base. The photo came in a red folder frame, so I trimmed that and matted it onto Pineapple Punch. I really wanted a clean look to the pages so any extra items on the page needed to have clean lines too.
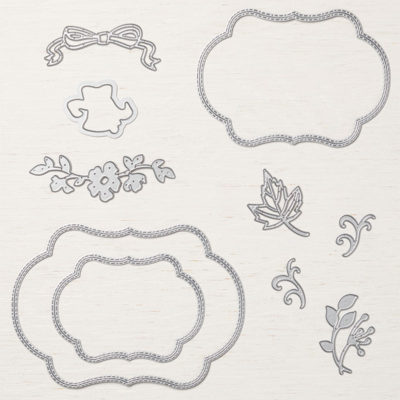
The four “tags” on the page have all been cut from a Memories & More card using the layering dies in the Stitched Seasons Framelit Dies. I’ll be showing class attendees how to cut using only part of the dies at our workshop. This gives you so many more shape and size options from the 3 decorative shapes in the die set.
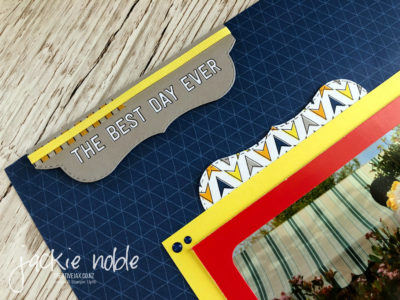
The tag at the top of the page has been cut from a 6×4 card and had a little strip of Best Route Washi Tape added, as well as some Pineapple Punch 1/8″ Grosgrain Ribbon.
If you look closely at the actual photos in the layout and pockets, you will see that I have added a strip of the same washi to each photo.
The tag attached under the top of the photo has been cut from a sheet of the Best Route Designer Series Paper (DSP). The little dots are from the Best Route Enamel Shapes pack.
On the tag below the photo, I’ve stamped the day and date using the Make a Difference photopolymer stamp set in Blueberry Bushel and Gray Granite. This stamp set is great for adding text to your pages – though you need to take care to avoid losing any of the 143 (!!!) stamps in the set – some are very small.
There are some more enamel shapes and the Stitched Seasons Dies have cut the shaped tags. I love the look of these shapes!
I think the Stitched Seasons set of framelits is ABSOLUTELY PERFECT for Memory Keeping. If you haven’t already purchased a set – I highly recommend you do so as soon as possible! They are only available until the end of August – while supplies last! There’s information about all the items in this limited time range below.
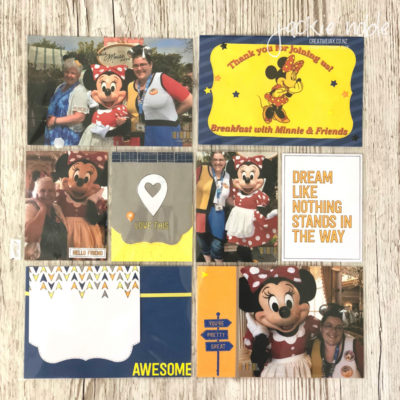
I’ve used cards from the Best Route Memories & More Card Pack in four of the pockets.
- The top right card has one of the specialty 6×4 cards as it’s base – it comes with texture embossing already done. I’ve used a Stitched Season die to shape the edges of our ticket and added some stars from the Best Route Enamel Shapes pack for more texture.
- The middle card on the right has simply been slipped into the pocket as is! The quality of the cards allow you to use them as they are for a quick clean look.
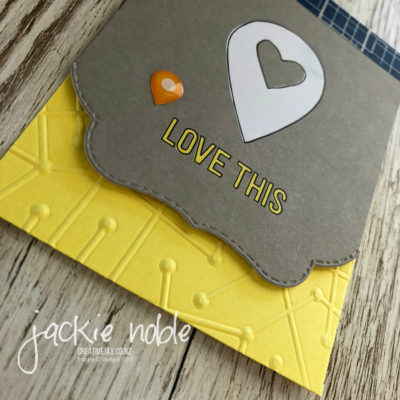
- The card in the middle features a card shaped with the die which has been matted onto a piece of Pineapple Punch cardstock that is embossed with the coordinating Maps Etc. Dynamic Texture Embossing folder. The reverse side of the other end of this card was used on the 12×12 layout (the Today tag). I’ve added another enamel shape and also a strip of Best Route Washi Tape (there’s three patterns in the pack)
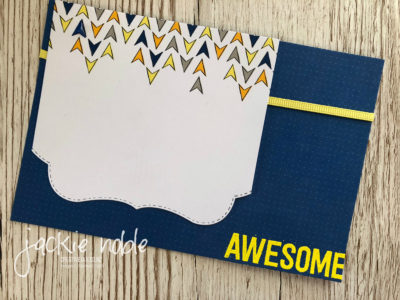
- The bottom left pocket has 2 6×4′ cards from the pack – one as the base and one as a shaped layer that I will journal on. The other end of the shaped card was also used on the 12×12 layout. Coordination is one of the things I really love about Stampin’ Up!’ products. There’s the 1/8″ Grosgrain Ribbon in Pineapple Punch as well as a Blueberry Bushel enamel shape which all match so well and make decorating the Memories & More Cards so easy! The “AWESOME” is from one of the sentiment stamps in the En Route Stamp Set. It’s heat embossed with the Pineapple Punch Embossing powder from the 2108-2020 In Color Stampin’ Emboss Powder set.
The bottom right pocket features a photo trimmed and matted onto Mango Melody Cardstock with a strip of the third pattern of washi tape.
I’ve stamped the signpost image from the En Route stamp set in Versamark and added Blueberry Bushel Stampin’ Emboss powder. 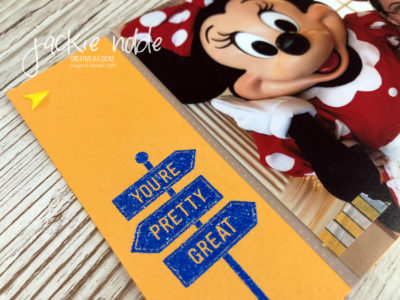
You can see the Washi on the photo in this one! I’ve got a small strip somewhere on each of the photos. Repetition is such a good way of linking elements together. While this Washi is not Acid Free I am happy to put a small piece on a part of photos that are not the main component. Of course, all Stampin’ Up! paper, adhesive, Memory & More cars and classic ink ARE acid free – so safe to use with your photos.
I had such fun making these pages and am looking forward to sharing them with my class on Saturday.
Thanks so much for hopping by today – do check out the amazing project by the other hoppers!
You can hop on over to Jenna in Australia if you click the Next Button
Here’s a list of everyone participating in the hop.
- the Blended Seasons Stamp Set (images for every season),
- the coordinating Stitched Seasons Framelits Dies (Squeal – they have stitching on both the positive and negative images)
Stitched Seasons Framelits Dies – $69.00
- Watercolor Pencils (ten new colours).
Watercolor Pencils (Assortment 2) – $26.25
Blended Seasons Wood-Mount Stamp Set + Stitched Seasons Framelits – $162.00
Blended Seasons Clear-Mount Stamp Set + Stitched Seasons Framelits – $136.00
WaterColour Pencils
Now in even more colours – 10 in fact – these high-quality, smooth colour pencils are perfect for creating watercolour stamped images. Use with Aqua Painters, Blender Pens, or alone. They work beautifully with the Blended Season stamp set. They are also Acid and Lignin Free
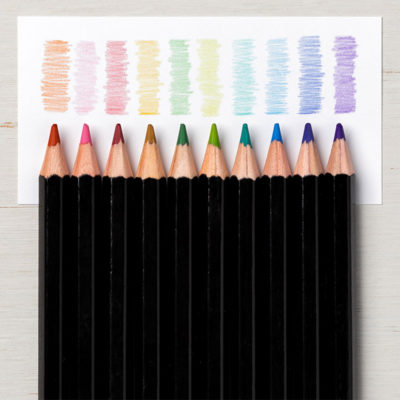
The colours in this assortment complement the colours already available in the Annual catalogue. They are Balmy Blue, Cajun Craze, Cherry Cobbler, Coastal Cabana, Crushed Curry, Flirty Flamingo, Garden Green, Gorgeous Grape, Granny Apple Green, Night of Navy.
Blended Season Stamp Set
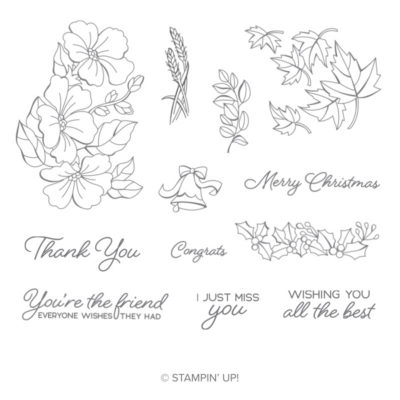 The different images and sentiments fit so well onto the different sized dies in the Stitched Seasons Framelits.
 Stitched Season Framelits
Thanks for taking part in our blog hop, there are so many amazing ideas and inspiration you don’t want to miss. Remember that currently, you are at my blog Jackie Noble | creativeJax
REMEMBER
- If you live in New Zealand and would like a copy of the new catalogue, please contact me.
- If you live in New Zealand and would like a demonstrator to order through – I’d love to have you join my group of crafty customers. Let’s journey together! – Shop Now or contact me.
- If you live in New Zealand and would like to know more about becoming a demonstrator – Check out the info HERE. I’d love to have you join my thINK Creative Team!
Until next time
As always – if you wish to know anything more about info in this post, or to get a catalogue, or to join my thINK Creative Team, or to buy any of the items mentioned in the post – please contact me.
Or you can shop 24/7 at my online Stampin’ Up! shop
Please do use the hostess code to support creativeJax if you are ordering online!
Entering the Hostess code combines the value of online orders – which assists me to offer events and thank you’s for my customers and support charities such as Ronald MacDonald House and local events where I donate product and/or classes.
The current Hostess Code can be found at the top right of my webpage.
If your order is over $300, please do not use this code as You become the hostess and get the Rewards!
If you would like to find out about joining my Stampin’ Up! Team (thINK Creative) – Please do get in touch – I would love to chat to you about that.
You can receive my Blog Posts directly by email or join my monthly Newsletter group – you can subscribe using the buttons at the right of my page.
Product List










4 comments
Skip to comment form
Author
Thanks Shaz! You are so right – we are very fortunate! Stampin’ Up! gives us wonderful things to work with! xox
Author
Thanks Heike
Madness! I love it. Toll overflowed with an eye for detail
OH My Goodness Gracious Me…I am gobsmacked at the extent of elements on your layout <3 I love that you have made a note about different products that you have used through out your photos and your post!!! We are so very lucky to be able to create with these gorgeous products <3 AWESOME photos from your holiday to Disneyland!!! Thank you for sharing your inspiration with us…
Love it Jackie <3
Cheers Shaz