Welcome to the Creative Inkers’ Holiday Catalogue Blog Hop – It’s great to be part of such a creative team!
You may have just joined the hop here, or maybe you’ve come from Sally’s blog but either way I’m sure you’ll enjoy all the stops on the Hop. Make sure you check them all out!
Just so you know – Christmas is my absolute favourite time of the year – always has been!
I look forward to many things about the Christmas Season – including the release of the Stampin’ Up! Holiday Catalogue. The anticipation of seeing what gorgeous new stamps and accessories are in the catalogue is almost too much to bear!
But the wait is over – YAY!!!
I have three cards to share on the Blog Hop today. I recently participated in two Team Swaps for the Holiday Catalogue and the first card I am sharing is from one of these swaps.
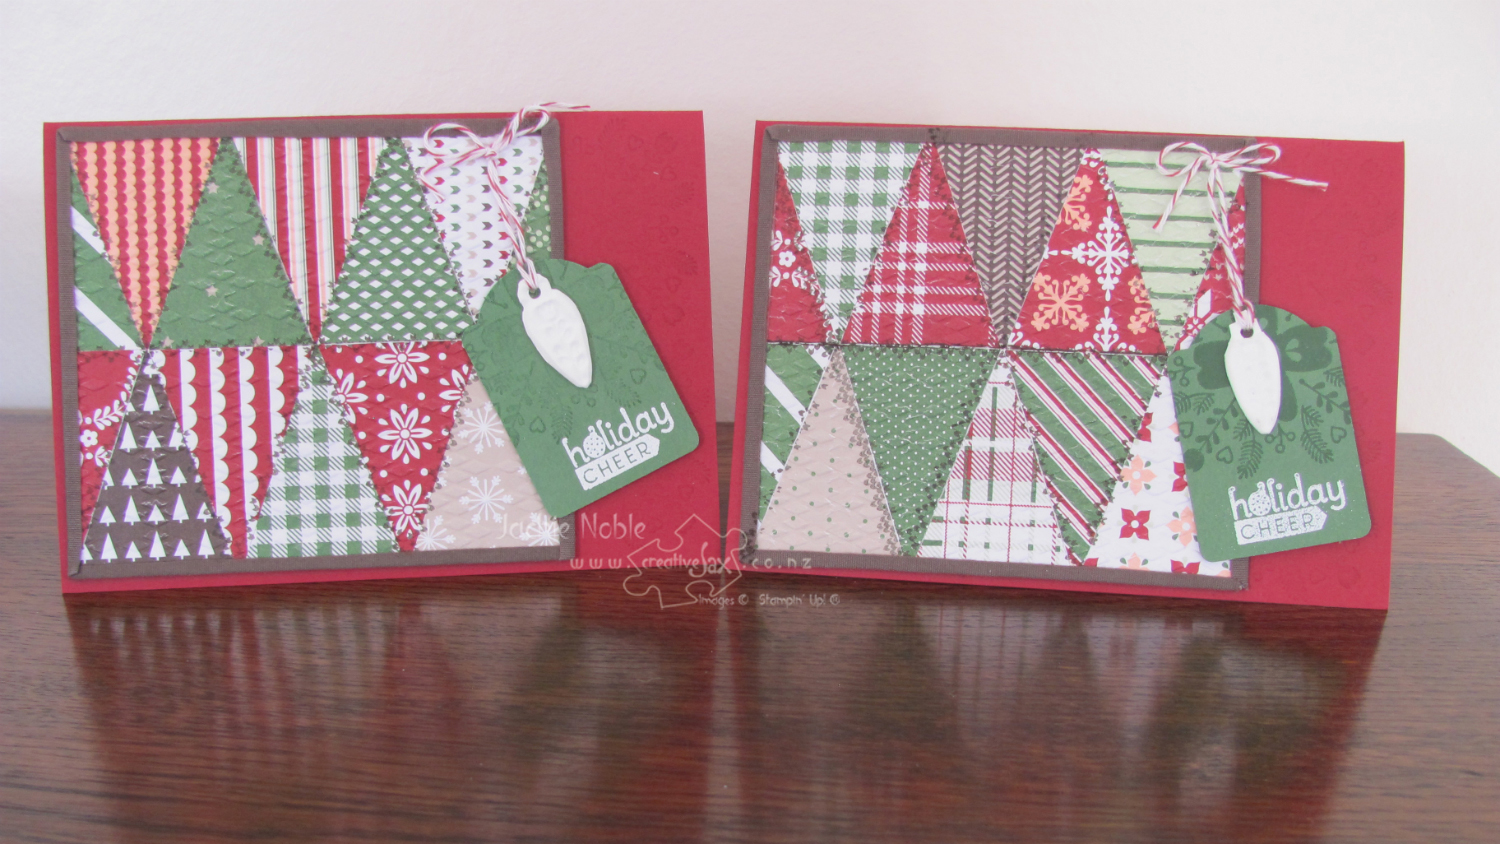
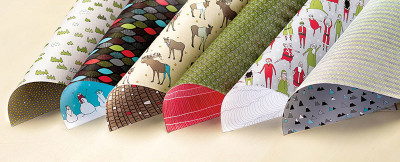
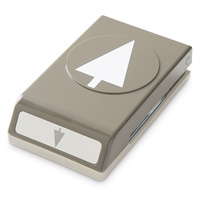
When I saw the tree punch I immediately thought of using it to make a paper quilt pattern. My mum, Jude, also loved Christmas (that’s probably where it all started for me) and she loved sewing and quilt-making too. Jude especially enjoyed making Christmas wall hangings and we are so lucky to have many of her masterpieces in the family which remind us of her now that Jude is no longer with us. Making a card with a paper quilt seemed like a fitting tribute to her as the Christmas Season approaches.  I’ve punched trees from Trim the Tree DSP stack using the Tree punch and then snipped the trunks off to make triangle to piece the quilt. I’m not sure you can see it clearly but one of the border stamps in the Project Life Holiday Cheer Stamp set makes a great stitching pattern on the quilt. Before trimming it with Early Espresso Cotton Ribbon,
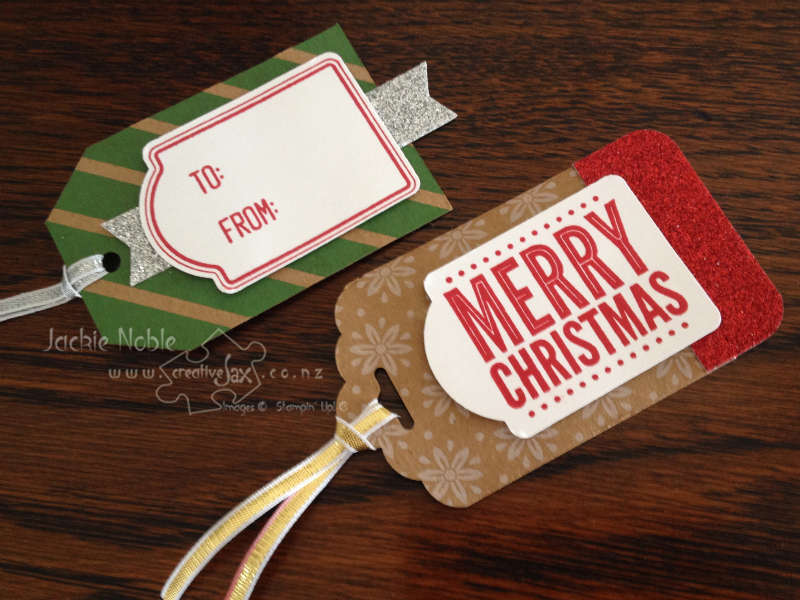
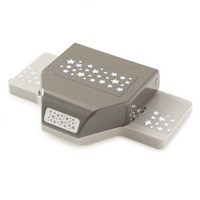
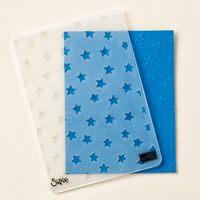
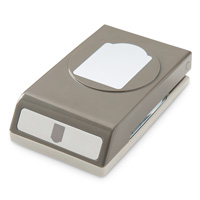
I’ve embossed the quilt with the Argyle Embossing folder to give it a “quilted” texture. It’s adhered to a Cherry Cobbler base that has had some watermarking done with Versamark and one of the stamps from the Cheerful Christmas set. 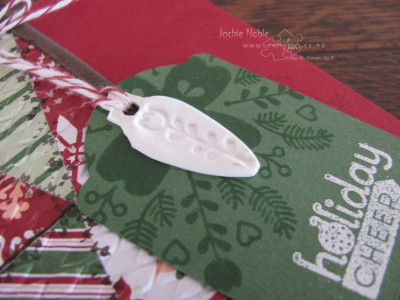 The tag is punched from Garden Green cardstock with the Note Tag punch. I think this punch is going to get lots of use – I have all sorts of ideas for it already!
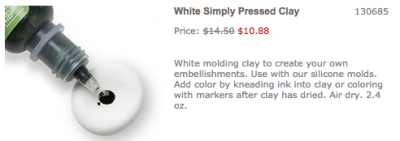
The little white embellishment is created using some Simply Pressed Clay with the impression made by pressing one of the ornament stamps from the Cheerful Christmas Set into the clay, then fussy cutting it out once dried. I’ve also stamped the image I used for the watermarking on the card base as the background image on the tag – while the white embossed greeting is from the Project Life Holiday Cheers set.
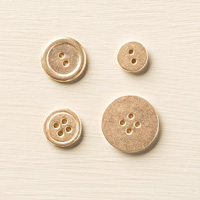
The tag and embellishment are attached to the card using dimensionals and some cherry cobbler bakers twine.
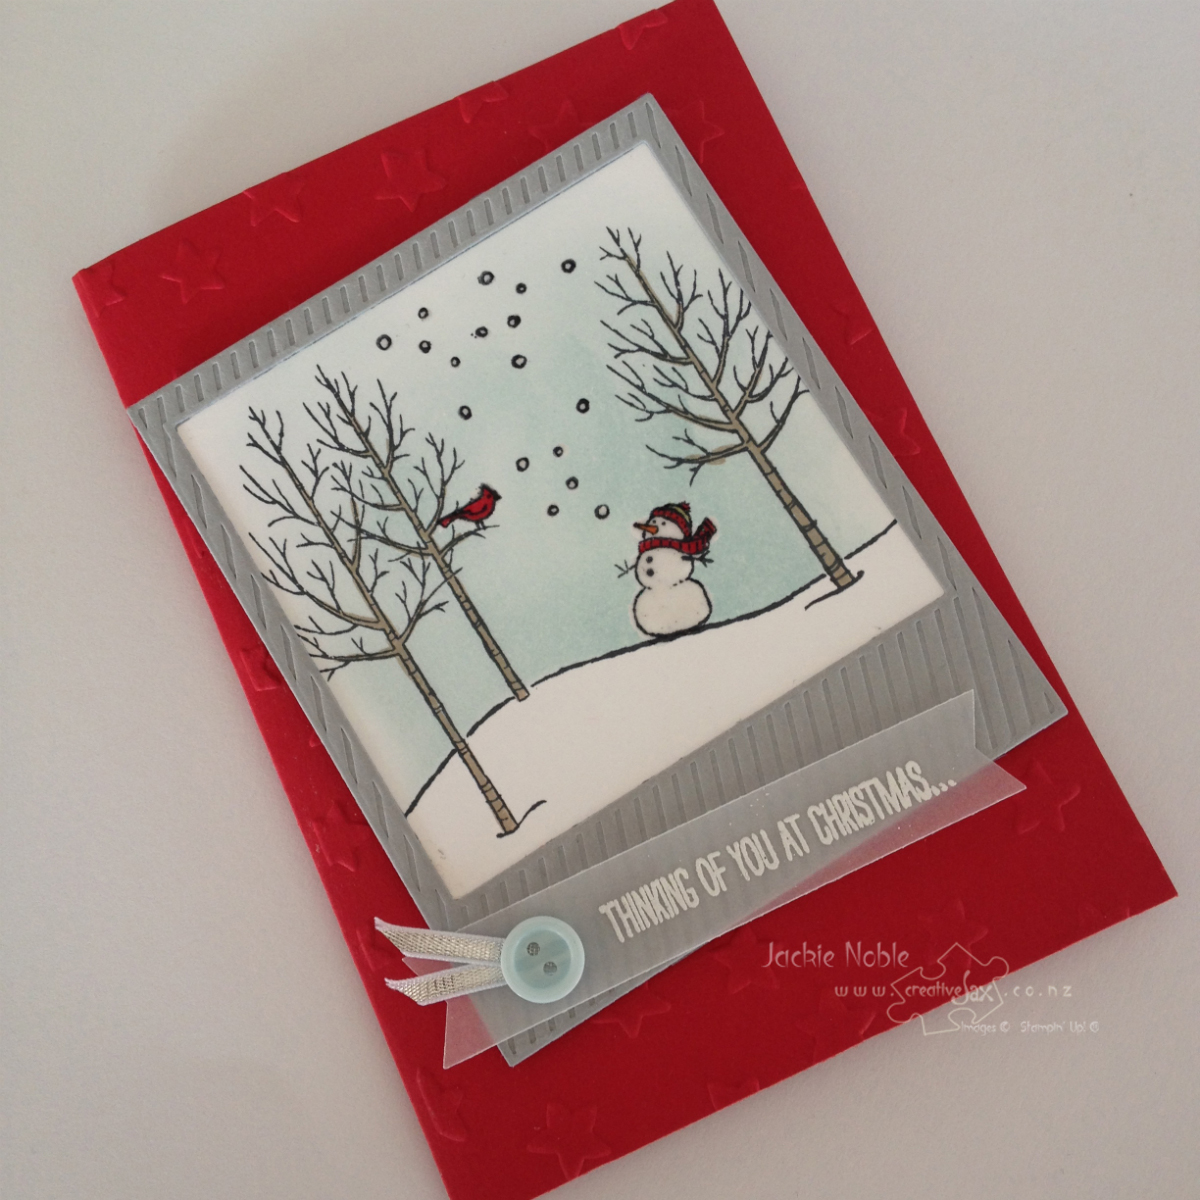
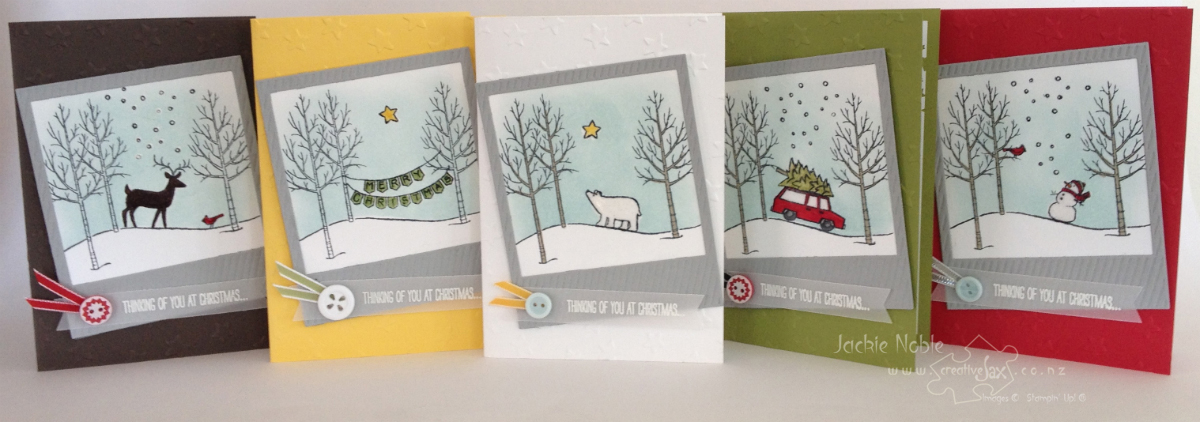
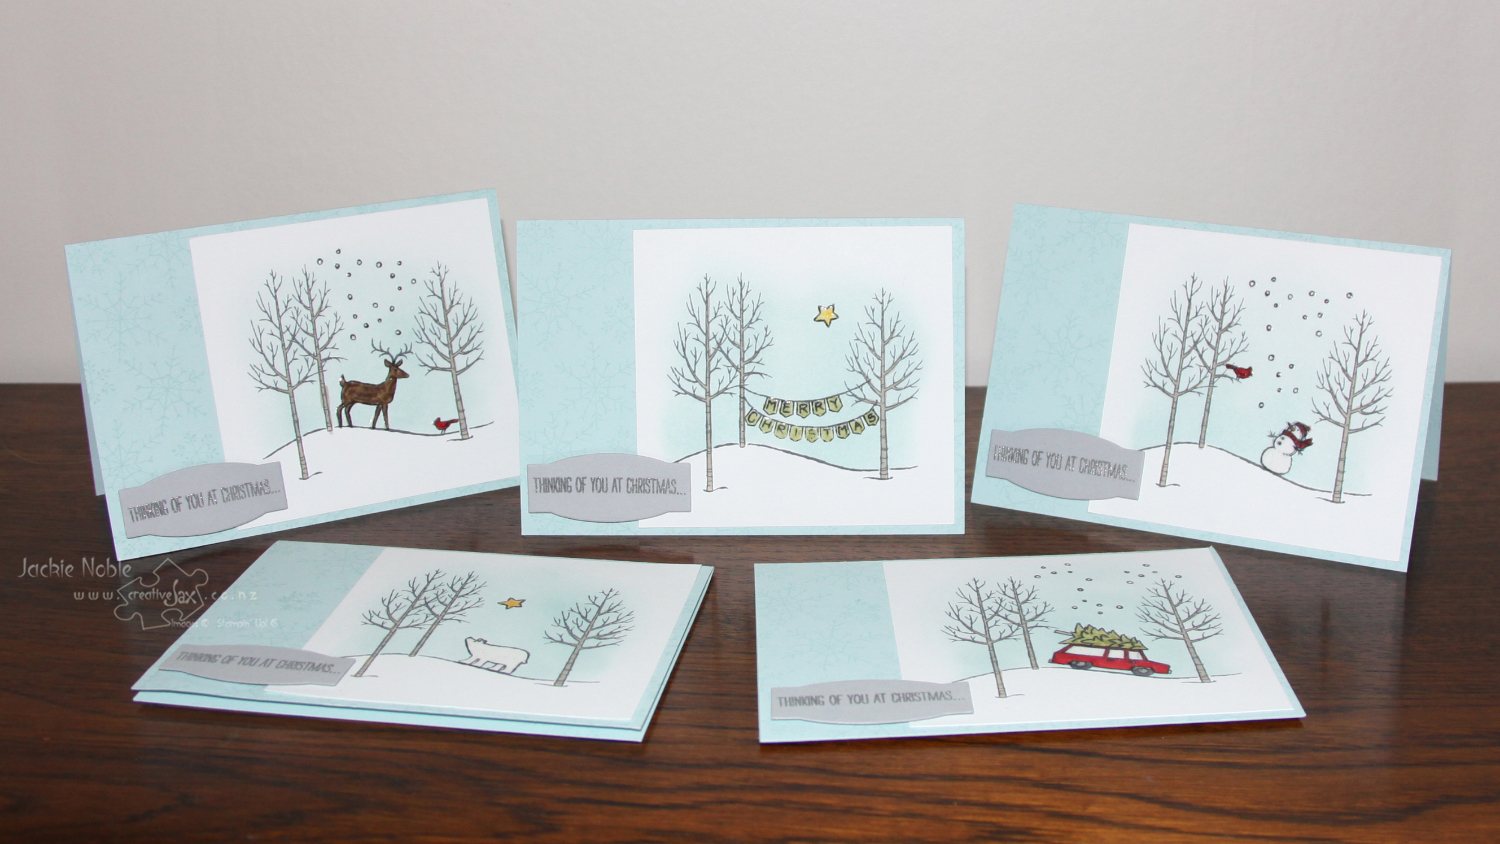
My second “card” for the day is a set of five that showcases a catalogue favourite – White Christmas. Having spent several winters on the prairies in Canada and enjoying some White Christmases myself, I really love the winter themed Christmas cards – and a polar bear, and a snowman – WOW!
These were the cards I made for the second Team Swap I participated in. 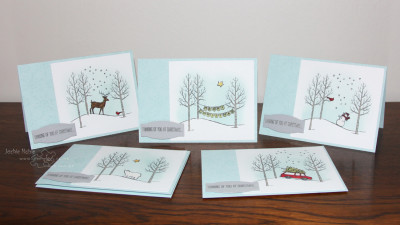

31 August 2014
I’ve found White Christmas to be a really versatile stamp set. As with all the previous stamp sets I’ve mentioned in this post, this is a photoplymer set and is fantastic for 2-step stamping. Loving how the banners can be quickly and accurately attached to the trees. I often pull out my stamp-a-ma-jig to get things straight and in just the place I want – but didn’t have to get it out once to do these cards. That certainly sped things up! There is such variety in how you can combine the images to get a wide range of results.
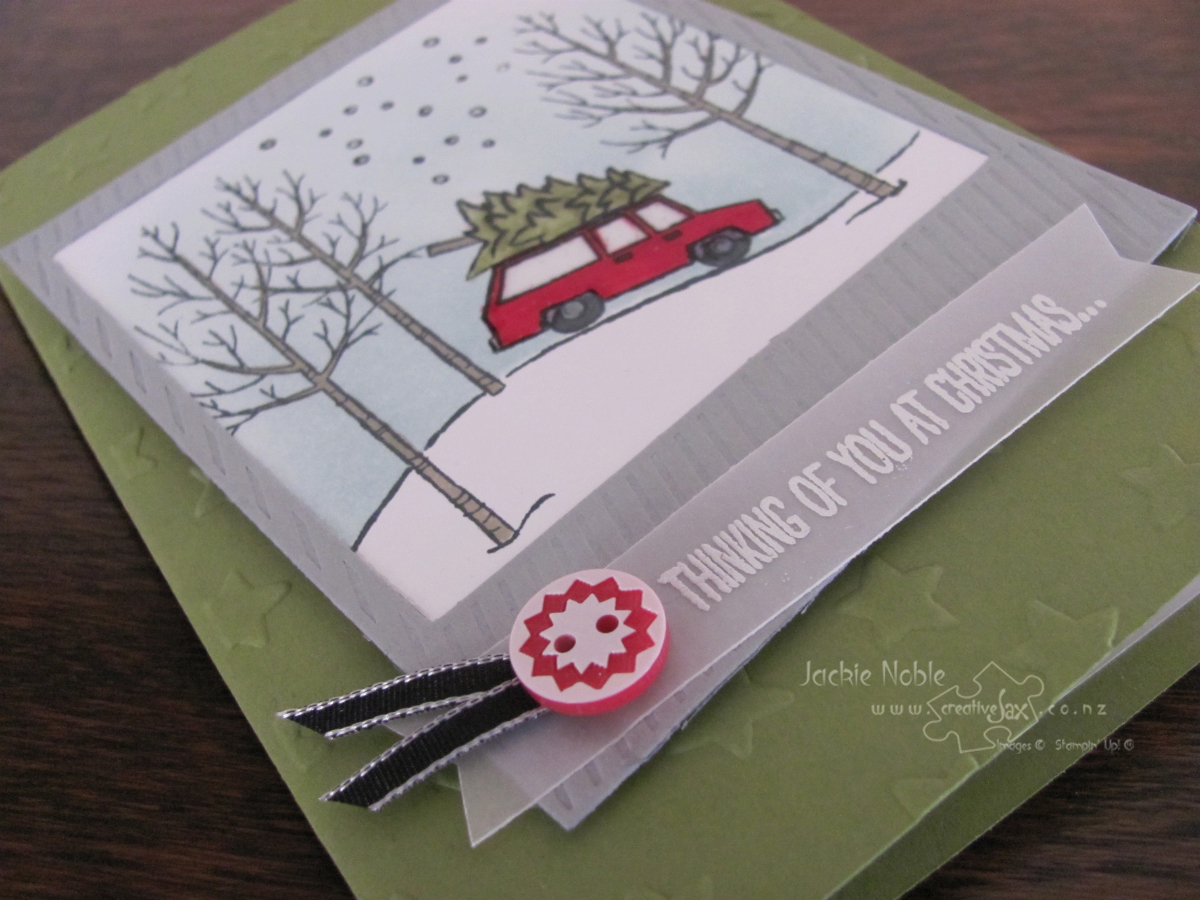
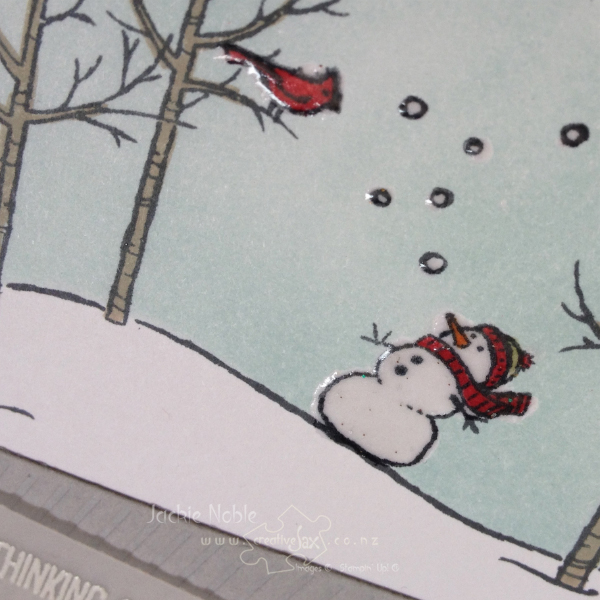
After stamping the images in black, they were coloured in with the Stampin’ Markers then heat embossed with clear embossing powder. The embossed areas resisted the colour that was sponged in Soft Sky with a dauber on to create the sky. I place this onto a Soft Sky card base which I had stamped with a couple of the snow flakes from Endless Wished.
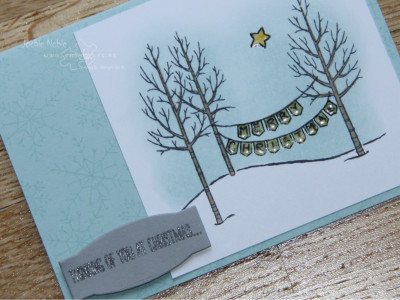 In the close-up you can see the shiny clear embossing and the subtle snowflakes on the cardbase. These were stamped in Soft Sky using a couple of the Endless wishes stamps.
The sentiment was stamped in Smoky Slate. I wanted to make the sentiment shine like the other embossed elements and as the stamp is the clear photopolymer it was really easy to re-stamp the words in versamark, and heat emboss with clear embossing powder before cutting it out using a Project Life framelit. Remember that Project Life items (cards, stamps, accessories, framelits) can certainly be used in more than memory keeping.
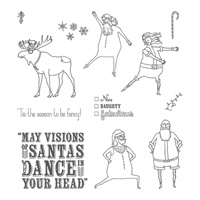
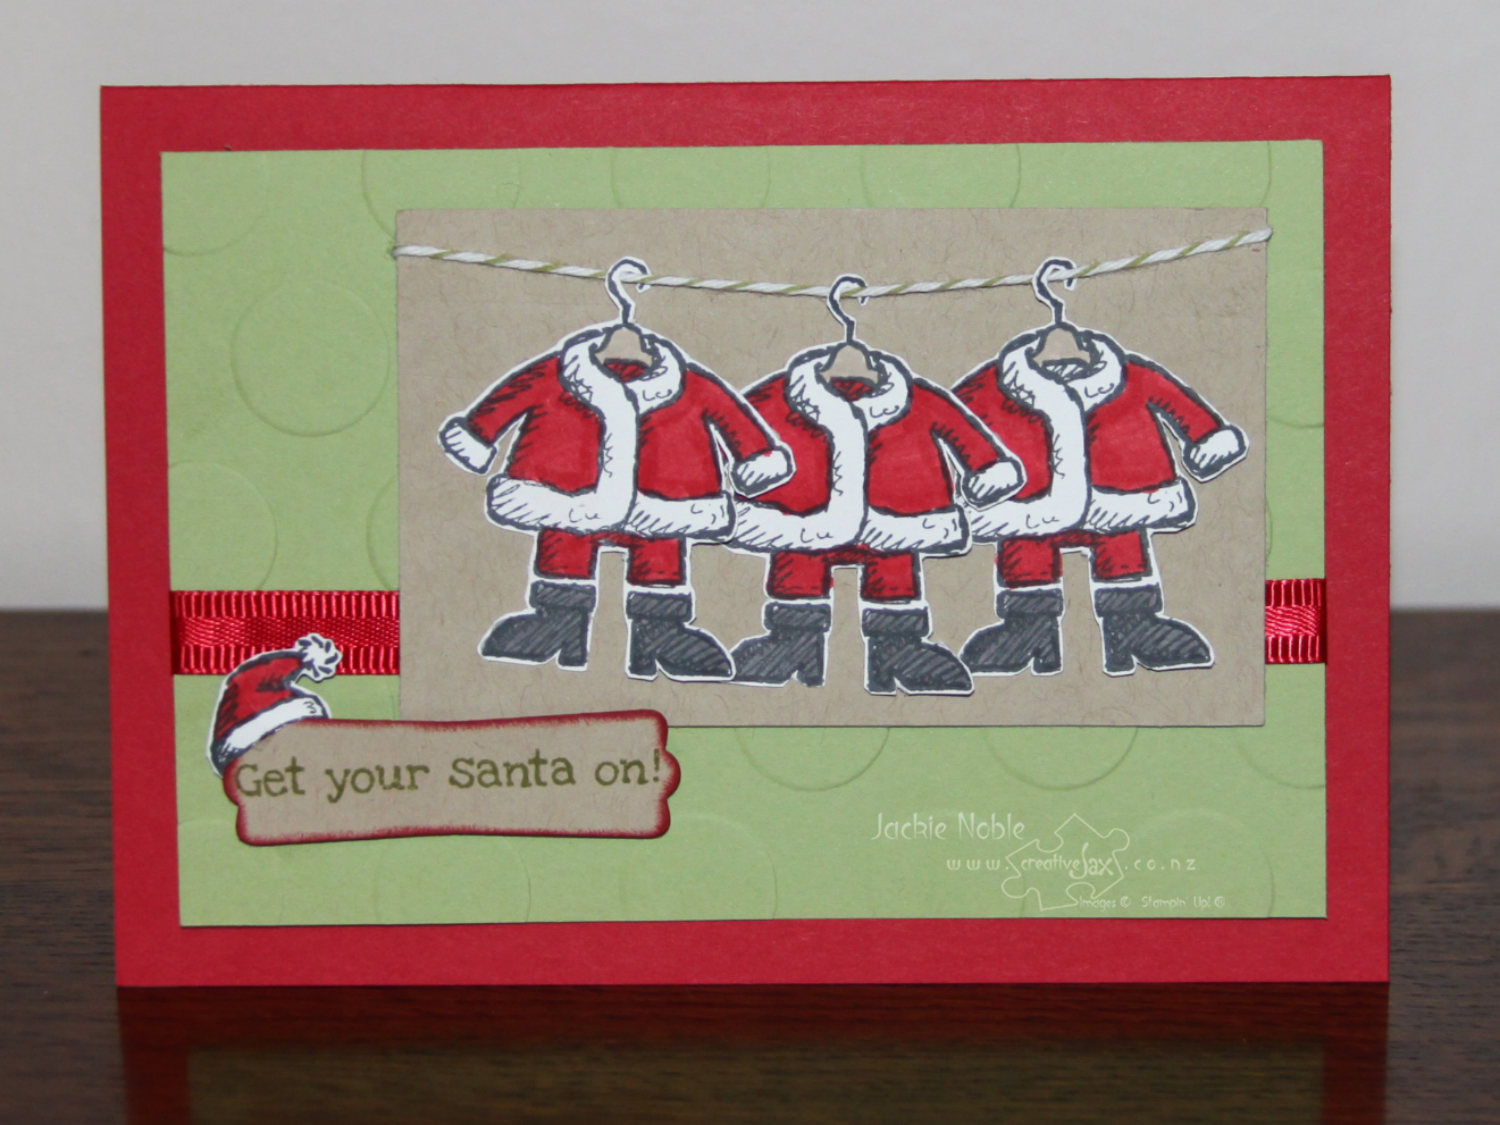
My last card to share today was made by Beth using one of her absolute favs from the catalogue – Get your Santa On! 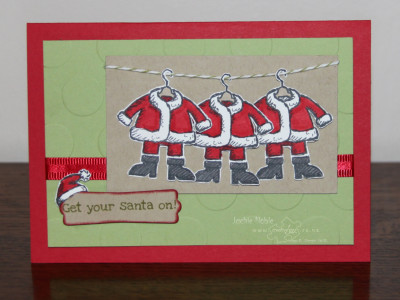 She stamped three Santa suits in black onto whisper white, coloured each of them, fussy cut them and hung them in their own wardrobe. Those coat hangers and their hooks were very fussy cutting and required a steady hand!
 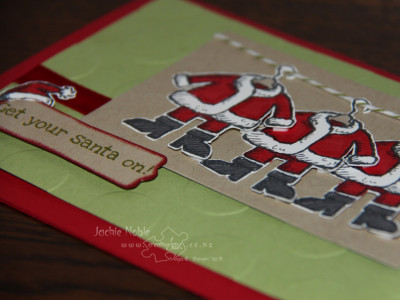 And of course Santa is a tidy fellow – so hung his hat on the corner of the sentiment rather than tossing it on the floor.
We have had such fun starting to “Get our Christmas On” – we’ve even had a few carols playing while we craft!
And I’ve enjoyed the learning curve of being part of my first Bog Hop!
Hope you’ve enjoyed our cards. Depending on which direction you’re doing the blog hop – click on the Previous button to visit Sally’s blog or the Next Button to visit Jacque’s blog – they’re both awesome and make sure you go all the way around the hop to check them all out!


List of Blog Hop Members:
Narelle Hoggard http://handmadebynarelle.wordpress.com
Paula Reid http://www.yellowbearnz.blogspot.co.nz
Heather Stewart www.stampingcraft.co.nz
Ria Kaire http://stampinup.net/esuite/home/qraftyqueen/blog
Sally Williams http://sallystampingdelights.blogspot.co.nz
Jackie Noble https://creativejax.co.nz This is where you are now
Jacque Williams http://stamphappy.typepad.com
Rachael Knight http://www.knightstamper.blogspot.co.nz
Lisa Bullock http://daffyscrapper.wordpress.com
Bev Poultney http://www.stampandscrap.co.nz
Irene Wardlaw www.kowhaihavencrafts.blogspot.com
Christine Bennett http://www.stampinup.net/esuite/home/christinebennett/blog
Kathryn Tyrrell http://www.aspotofstamping.co.nz/2014/08/blog-hop.html 
Until next time
Jackie
As always – if you wish to know anything more about info in this post, or to get a catalogue or to buy any of the items mentioned in the post, please contact me.
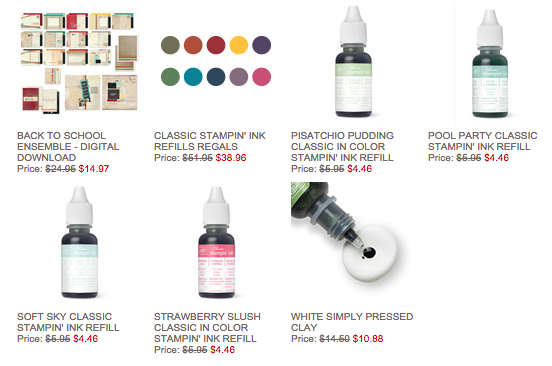
Or you can shop 24/7 at my online Stampin’ Up! shop – just click on any of the products in the table below, and you should find yourself in my online shop at the page with information about the product. And with 3 projects there’s a lot of different products used in today’s post.
If you would like to find out about joining my Stampin’ Up! team get in touch – I would love to chat to you about that.
Jackie Noble – Independent Stampin’ Up! Demonstrator aka creativeJax Wellington, New Zealand